From brown and dingy feeling to washboard chic!
Since I am on a mission to change just about every room in my house, I decided to tackle the Mudroom Powder Room. This is the most used bathroom in the house. It is also my least favorite. I decided to learn to build board and batten, after reading many websites about it, I kinda came up with my own design and tailored it to fit the small room.
 |
| Mudroom Powder Room Before |
Oh yeah, and the whole reason I decided to start with this room was that the toilet paper holder never stayed screwed onto the wall. It did not matter how many drywall screws we used it was always off of the wall, the roll was always just sitting there, it looked bad.
 |
| Cabinet before |
I also wanted to change the cabinetry from Wood stained to a painted distressed cream.
Here is the process I used to install the board and batten:
1. I used 1x2's for the battens, and 1x4's for the board. Boards go parallel, battens go perpendicular. I used a formula of about 9 inches apart for the battens, though they were about 5 inches from the corners. To be honest, I had to eyeball it a little in order to make it look symmetrical. First I coated the back with wood glue help them adhere to the wall, then anchored them using a combo of my nail gun and nailing with good old fashioned hammer and nails.
 |
First, I assembled the board and batten.
|
2. Then, I painted the wall one coat above the boards to the ceiling. The color was leftover from the basement bedroom Benjamin Moore-Kingsport Gray in an eggshell finish.
 |
Me- in "the zone".
My 5 year old the pro photographer. |
3. Next, I caulked all of the battens. This took forever and my finger was killing afterward. But, this step is necessary to give the battens the "smooth" built in look. Then I spray killz'ed the battens to prime them.
 |
After nailing battens and caulking.
|
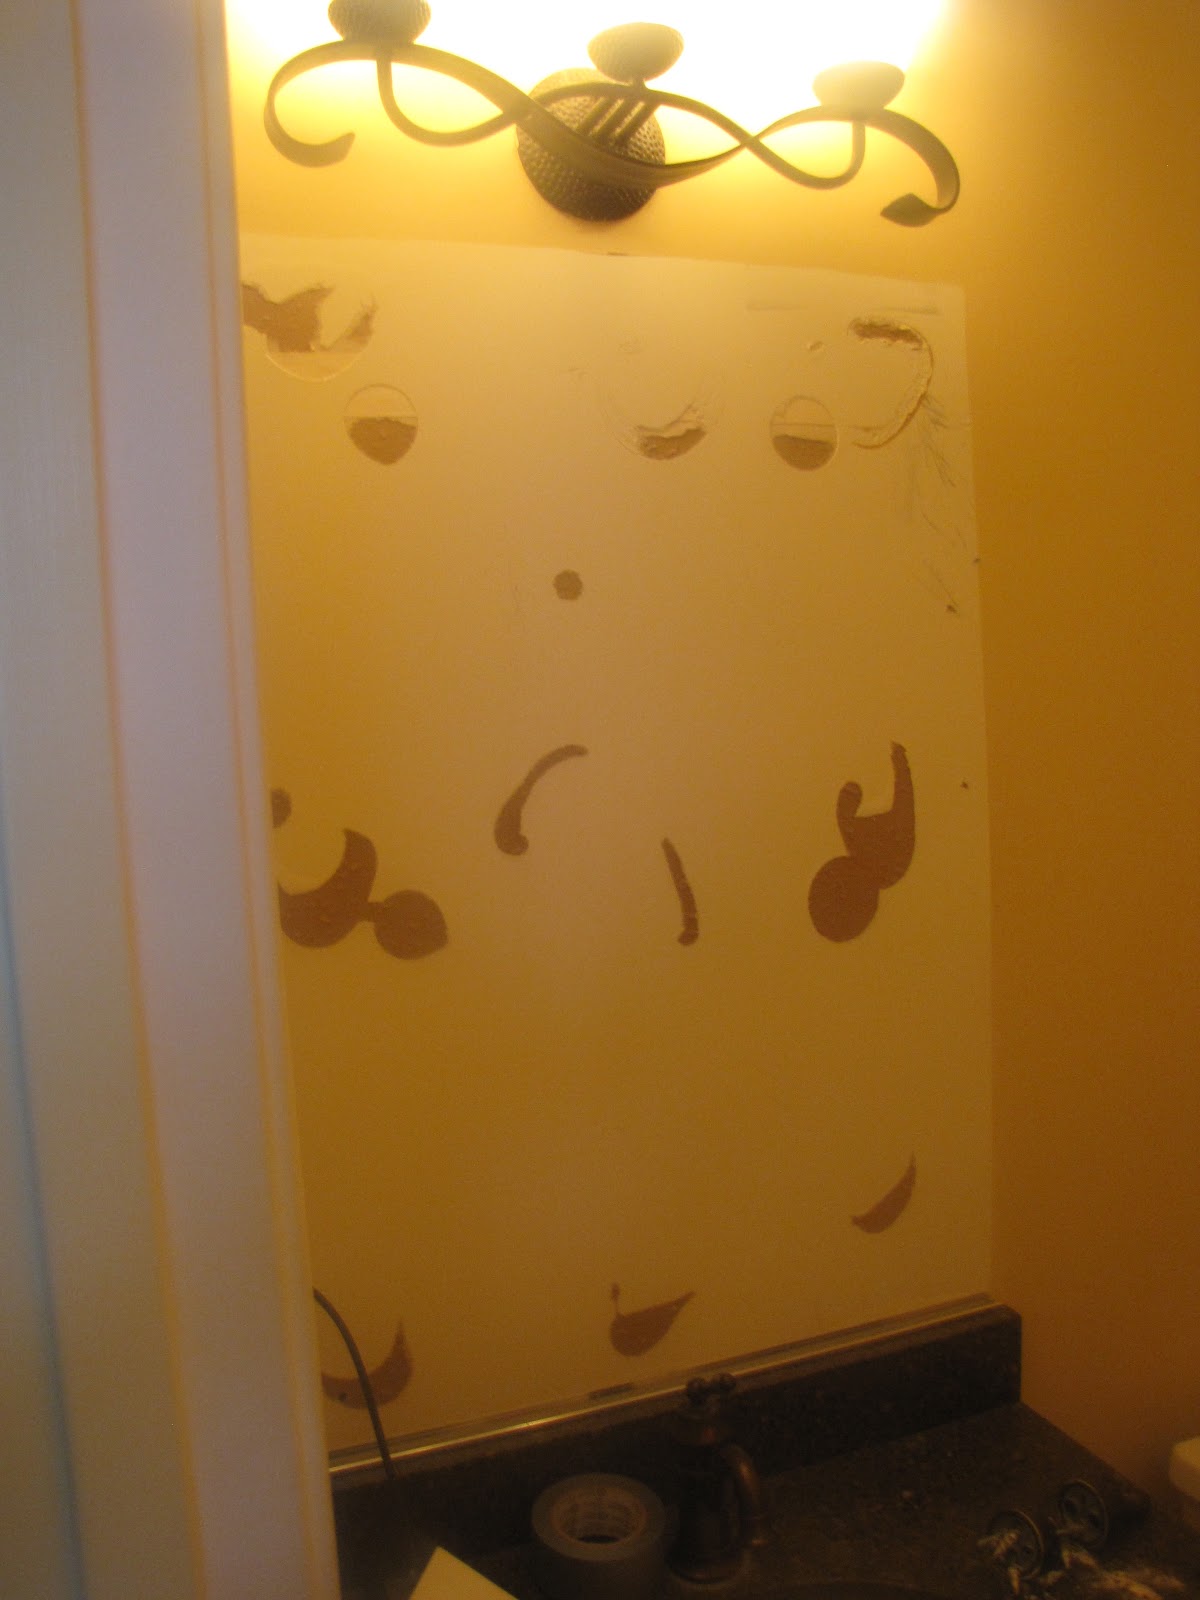
4. Next, I took a look at the mirror on the wall and really wanted to spruce it up, so... I carefully pried it off with a wedge and hammer.
 |
| After removing the mirror. |
5. I decided to build a mirror frame for the mirror from some leftover scrap wood and 2 1x2's for the sides. I needed to create a curve as the header for the frame. To get a perfect curve I took my piece of wood and drug out the back of a baby crib we had in the closet. I knew buy tracing the top, I would get a perfect curve.
 |
| I pencil traced the cure onto the wood board. Just right. |
6. I cut the curve with a jigsaw, then, sanded it smooth. I decided I wanted to mount the light fixture on the actual frame. I had to remove the electrical fixture from the wall. I turned off the breaker at the electric box first! I added two 1x2's (the same I used as the battens) on either side to create a frame.
7. Here is how I assembled the mirror frame on the floor first. I had to measure and cut a whole in the wood for the electrical to pass trough and be mounted. I had never dealt with electric before...see step 9... the hardest and longest step.
 |
| Cut hole for electrical to pass through and fixture to be mounted. |
 |
Assembling the frame,
you gotta tape up the mirror so if it shatters it will stick to the tape. |
8. I really wanted to keep this whole renovation at about 100 dollars, so I decided to use the same fixture, I spray painted it black satin spray paint to make it look wrought-iron-y. Then I swapped the glass with the glass from another fixture in the house. It made it look totally different!
9. After removing the light fixture and cutting a hole in the header, I had to put together the frame and glue (with a strong adhesive called chemrex) the mirror onto the wall. Then, since the header was adding another inch or so of space between the electrical box and the fixture I had to buy much longer screws I think they were 2 1/2 inch screws in order to attach the fixture to the header. I watched a you-tube video on how to reconnect the wires and after a ton of tries it turned out fine, and the fixture was mounted to the frame securely.
10. After the frame and mirror were attached to the wall... I continued with the trim work. I added a ledge and cove moulding to the boards to give it a more finished look.
 |
| Top ledge of board. |
11. I added top "crown moulding" trim that consisted of 1x4 boards and cove moulding.
 |
| Top moulding. |
12. I filled in all holes with wood filler and sanded those down, then I caulked the rest of the trim. I painted all of the trim (top trim and board and batten) Benjamin Moore's- Filtered Sunlight (this was in a semi-gloss and was leftover from the trim in the rest of the house) and the top of the board and batten another coat of the Kingsport Gray. The trim really "popped" next to the gray.
13. On to the cabinet... My favorite part. First, I removed the cabinet doors and sanded them down pretty good. I sanded the side of the cabinet next to the toilet, and sprayed killz primer to cover the wood.
14. I painted the cabinet side and cabinet doors with the Filtered Sunlight trim color, let dry overnight, then painted again in the morning and let dry. I used my dremel tool sander bit to "distress" the cabinet doors to make them look a little worn. Then I sprayed poly-acrylic spray to protect the cabinet doors. I spray painted the knobs black and reattached the cabinet doors to the cabinet base.
15. I reattached the dark toilet paper holder to the cabinet. Now it stays and cannot be taken off!
16. I bought a new faucet- a waterfall glass one on ebay for $49 It is beautiful! Again- I had never worked with plumbing before, so I had to search on you-tube about how to change out sink fixtures and learned how to swap them out. After some messing around and lots of tightening I figured it out.
 |
| My new faucet! |
17. The last little "customization" I did was to build a magazine rack or a children's book rack for the bathroom wall - this I thought would help the room not look so cluttered since I am potty training my son. I found some scrap pieces of wood, and drew some side wood patterns. I jigsawed them out attached a back to the sides with screws and wood glue, then attached a 1x2 scrap for the front piece. I painted it, wood glued and nailed it to the wall- its now my favorite part of the room. Here's how it turned out:
 |
| Perfect for potty training! |
Here is the final turnout of my remodel- It cost me in total 105.00!
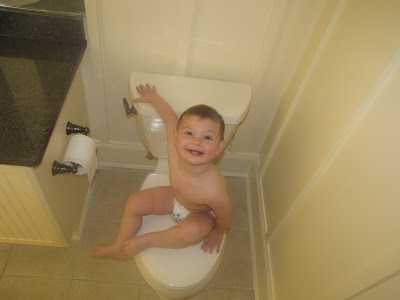 |
| My son enjoying the new room. |
 |
| Its hard to take pics of such a small room. |
Hope you like my remodel! Kristen


The waterfall glass faucet gives your bathroom a sophisticated and relaxing appeal. I think this is the reason why my wife decided to have one in our bathroom as well. I admire you for trying your best to install it in your own, by the way. You’re quite a fast learner, huh? You only watched video tutorials and made an effort to see if you can do it. Well, luckily, you did! :D
ReplyDeleteYour bathroom was indeed small, but you didn’t fail in making it gorgeous; and it is on par with bathrooms we usually see in magazines and TV. You see, your son was grinning from ear to ear after seeing your newly remodeled bathroom. I know that you felt very happy after seeing the results of your hard work. :D
ReplyDeleteI was diagnosed as HEPATITIS B carrier in 2013 with fibrosis of the
ReplyDeleteliver already present. I started on antiviral medications which
reduced the viral load initially. After a couple of years the virus
became resistant. I started on HEPATITIS B Herbal treatment from
ULTIMATE LIFE CLINIC (www.ultimatelifeclinic.com) in March, 2020. Their
treatment totally reversed the virus. I did another blood test after
the 6 months long treatment and tested negative to the virus. Amazing
treatment! This treatment is a breakthrough for all HBV carriers.