
My "Jewel Box" Guest Room Hallway Makeover

Tutorial- Including:
Wood Paneling Installation & Chandelier Makeover
Hello friends! Continuing on with my Guestroom makeover, we have come to the hallway. As I am still hell- bent on making over every single inch of this room, the hallway was no exception. This hall leads from the main guest room to the bathroom. There is a linen closet in the hall, and double doors that lead into a huge storage closet.
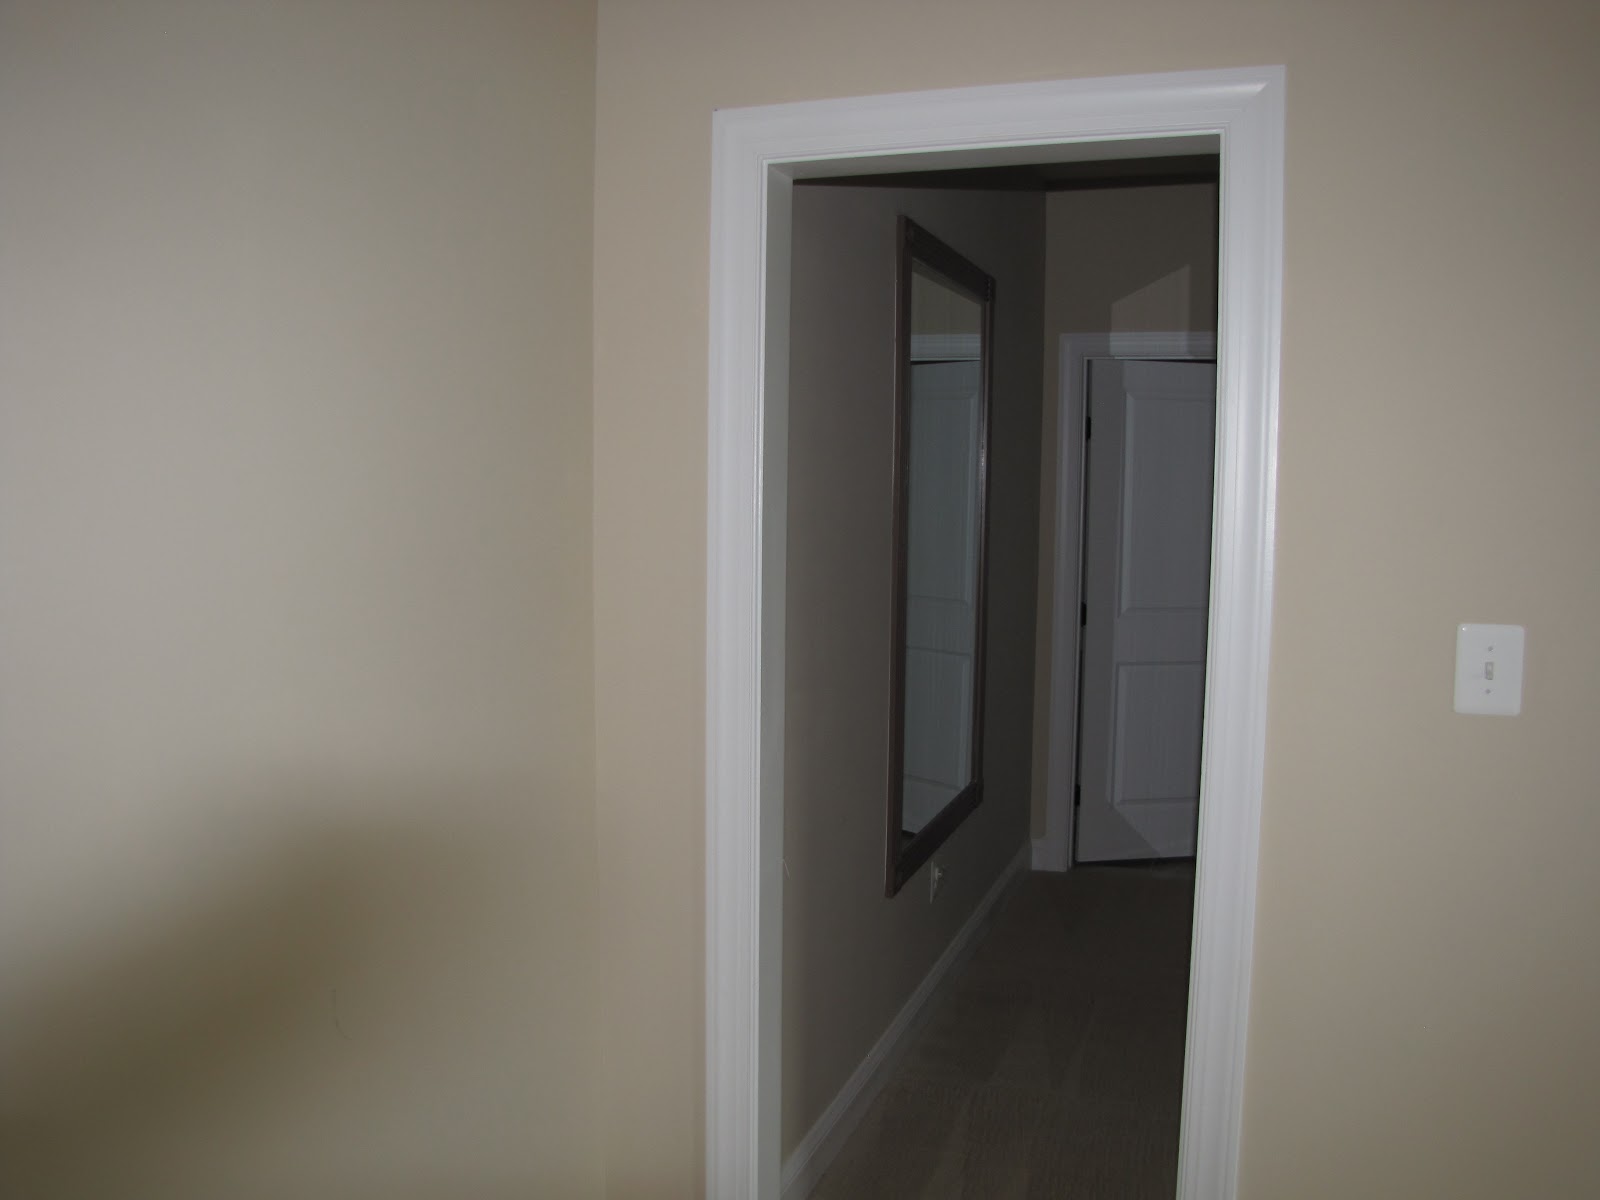
Here are some before shots of the hallway.
 |
| Boring, beige, and brown. |
 |
| Huge mirror, brown frame. uggg! |
Really there were only a few things I wanted to change about the hallway. One being ripping the mirror off of the wall, and two...improving the lighting and lightening up the paint color.
First, I had to get out some aggression, so I decided to pry off the frame around the mirror. That was a mistake because then the mirror cracked clear across. I taped the mirror so not to completely shatter the glass everywhere and removed it from the wall ripped it off of the wall. Wanna see a shot of that??
 |
| Whoops - kinda messed up the wall! |
At this point I had a dilemma- should I repair the wall? or do something more drastic? I let it sit for about 5 months.........
I drew inspiration from the bars at starbucks, outside of restaurants, and even the local bar Not Your Average Joes.
Think this:
 |
| Photo- J. Wohlez |
 |
| Photo: Core photography |
Then, I came across this tutorial for a wood planked wall from Thrifty Decor Chick.
Her wood planked wall pic
 |
| Thrifty Decor Chick's wall. Pretty! |
So I figured what better way to cover up previous wall tears (from the mirror) than to plank the whole wall? And...so I did.
Here's what I did. I purchased 7 packages of thin pine planking from HD- Kind of like this stuff:
 |
| The pine boards were appx 3 1/2 inches wide by 8 foot long. |
My wall measured 122 inches long x102 7/8 inches high. First, I bought 5 packages, but then had to go back and buy 2 more....wasn't happy about that!
I knew I wanted to follow a "subway" tile pattern like this:

I had 2 sizes of boards to "cut" :
A's and B's- 61 3/4 inches long
C's and E's- 14 inches long
D's - no cuts just using full plank
So, I cut the boards to fit and then began placing them on the wall and nailing them in like this:
 |
| Sorry, bad pic- must have had sawdust on my lens. |
 |
| Nail gun. |
 |
| This part was harder because I had to get up and down from the ladder. It was easier when it was within arms length. |
Further along...
 |
| Really blurry, sorry. |
Then for the electrical outlet. I just cut that wood piece around the outlet leaving a clear gap all around the sockets and replaced the outlet plate on top of the wood, it worked fine.
For the bottom, the part that fit up against the footboard...I had to rip cut the planks because it was not a perfect fit. I cut off about 1 inch from the plank. It fit great after that.
Now... time to stain-
First, I used painters tape to tape the ceiling, so I would not get stain on the ceiling.
I used Minwax stain in Ebony- Its dark, but I knew I was only going to do one coat and that it matched the rest of the furniture in the guest room. I taped the floor with a giant roll of plastic sheeting and I used a small bucket for the stain.
 |
| Thank you to my 6 year old for being my photographer. |
 |
| I used a handled foam painting thingy from HD- it was pretty wide-- to get the best coverage. |

I did a nice covering- waited about 10 mins then wiped off excess stain with a rag.
 |
| Almost done. |
Done!-

Moving on- Next, I painted the entire hallway, baseboards, doors and trim with Benjamin Moore - Crisp Linen- in a Semigloss.
Because the wood wall is now so dark I needed to balance the dark with a light color and a shiny texture (hence the semi- gloss).
Now, on to the chandelier.
I picked up this chandelier at the Habitat for Humanity restore- I instantly saw the potential. It was gold and falling apart a little bit - so I talked the price down from 40 dollars to 35 dollars. If you learn only one thing from me its that EVERYTHING IS NEGOTIABLE! Although I do feel a little guilty bargaining in a store that benefits a charity.

I removed the little candle looking tube things and spray painted the whole fixture black - satin finish.
 |
| Sorry pics not so great - its hard to hold a chandelier, spray paint it and take a good picture at the same time. |
 |
| Painting candlesticks. |
Now I have a ton more light and a super cute hallway!
 |
| There is nothing more exciting to me than a chandelier! |
 |
| Exactly what I wanted! |
Hope you all enjoyed this tutorial. I am super happy with how it turned out.
Next thing is the bathroom to re-do. Drop me a line... I'd love to hear from you!
Happy Building.
Kristen
Love the wall! My husband and I did one like this. We actually Pre stained the wood before we hung it. We were worried about not getting the stain in all the lines and cracks. Love the look. Great job! Ours is here:
ReplyDeletehttp://lindsayandandrew.blogspot.com/2011/08/drew-paneled-wall.html?m=1
Kristen I LOVE the wall and light fixture. It looks very rustic.
ReplyDeleteI recently found your blog through Pinterest. I have loved looking at all of your projects and hope that I will be brave enough to tackle some of my own very soon. I love the wall and can't wait to see what you do next!
ReplyDeleteMisty
Aww thanks! I'd love to see some of your work! -Kristen
DeleteRecently purchased a condo with a fireplace in it and the wood walls will make like I lived in the mountains, not on the beach.
DeleteI think the wood should have remained natural. The dark stain is too dark with the black light. Love the wood grain and if you had just put a satin clear minwax on it, I think it would be a little more rustic looking, especially with the black light against it. Just another opinion.
ReplyDeleteI was diagnosed as HEPATITIS B carrier in 2013 with fibrosis of the
ReplyDeleteliver already present. I started on antiviral medications which
reduced the viral load initially. After a couple of years the virus
became resistant. I started on HEPATITIS B Herbal treatment from
ULTIMATE LIFE CLINIC (www.ultimatelifeclinic.com) in March, 2020. Their
treatment totally reversed the virus. I did another blood test after
the 6 months long treatment and tested negative to the virus. Amazing
treatment! This treatment is a breakthrough for all HBV carriers.